
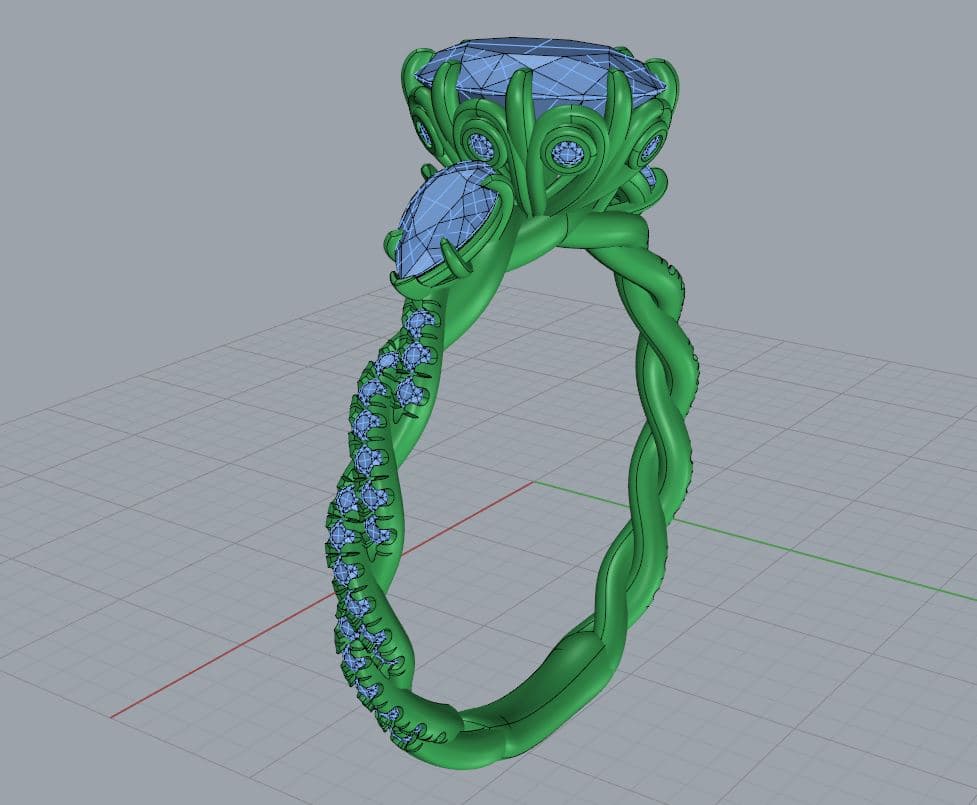
A beautiful render means nothing if the model won't cast. Getting a 3D jewelry model production-ready is a technical discipline: the geometry has to survive printing, burnout and casting, and the finished metal piece has to match the design after shrinkage. This checklist covers what actually matters before a file goes to the printer.
1. Apply shrinkage compensation
Metal shrinks as it cools from casting. If you model at final size, the finished piece comes out undersized. Professional CAD applies a metal-specific shrinkage factor so the cast piece lands on the intended dimensions — critical for ring sizes and for parts that must fit together.
2. Check wall thickness and structural integrity
Every surface needs enough material to survive casting and daily wear. Walls that are too thin won't fill with metal or will be fragile; unsupported spans can distort. Prongs, galleries and bezels are the usual weak points.
- No knife-edge or zero-thickness surfaces
- Minimum wall thickness appropriate to the metal and piece
- Solid, watertight geometry — no gaps or non-manifold edges
- Adequate prong and bezel material to hold stones securely
3. Verify stone-setting tolerances
Stones need the right seat, not a press fit modeled to the exact stone diameter. Correct tolerances leave room for setting and prevent cracked stones or loose settings. Seats, girdle clearance and prong contact all need to be checked against the actual stone sizes.
4. Choose print orientation and supports
How a piece is oriented on the printer affects surface quality and how much cleanup the wax or resin needs. Delicate details and visible surfaces should be oriented to minimize support marks. This is a printing decision, but it's easier when the model is designed with it in mind.
5. Export the right files
Export an STL at true millimeter scale with a mesh dense enough to hide facets on curves. Keep the editable NURBS master (.3dm) so tolerances can be adjusted without rebuilding. Include a short spec sheet — metal, stone sizes, finger size, and any shrinkage factor applied — so the manufacturer has no guesswork.
Key takeaways
- Model with shrinkage compensation so the cast piece matches the intended size.
- Confirm wall thickness, watertight geometry and secure stone settings before export.
- Give stones a correct seat with tolerance — not a press fit.
- Deliver an STL at true scale plus an editable 3DM master and a short spec sheet.
Frequently asked questions
What is shrinkage compensation in jewelry casting?
It's scaling the CAD model up by a metal-specific factor so that after the cast metal cools and shrinks, the finished piece matches the intended dimensions. Without it, cast pieces come out undersized.
Why did my 3D printed jewelry model fail to cast?
The most common causes are walls that are too thin to fill with metal, non-watertight or non-manifold geometry, missing shrinkage compensation, and stone seats modeled with no setting tolerance.
What should I send the manufacturer along with the file?
A short spec sheet: the metal, exact stone sizes, finger/size, mesh scale confirmation, and any shrinkage factor already applied. This removes guesswork and reduces reworks.
Further reading
Have a piece you need in 3D?
Fixed pricing, real-time tracking, manufacturing-ready files — delivered worldwide.
Request a quote